How to set-up a wordpress blog in 5 minutes

Today, I am going to tell you how you can set up your WordPress blog in 5 minutes. There are numerous reasons why you should be blogging right now. We even gave you 7 of the very best one reasons in our guide yesterday. If you agree to those, you are probably looking for a way to set-up your own blog right now.
Getting Started, Choosing a self-hosting provider
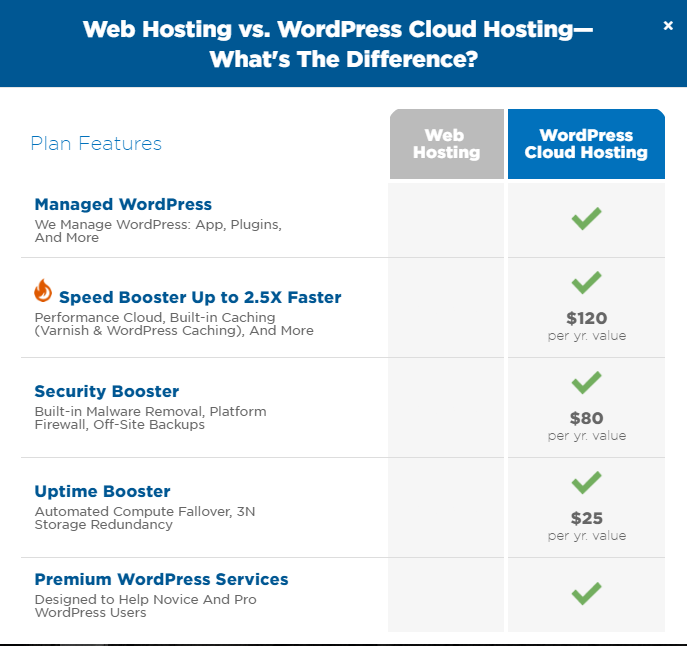
There are a number of self-hosting providers for blogs out there. For the sake of this article, we will go with HostGator. In our opinion, it is one of the best self-hosting options out there and you will also get a discount with TechJuice’s coupon code (more on that later). Since Hostgator also provides a WordPress hosting, it will make it easier for your blog.
If you choose HostGator, proceed to the second step. If not, you can still continue below to see what the general process is like. Most web-hosting providers have a similar setup process.
1. Choosing a self-hosting plan
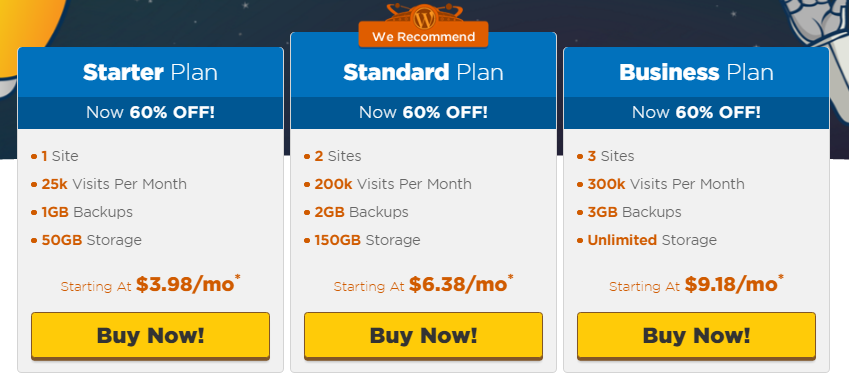
HostGator provides three self-hosting plans at the moment. They range from $3.98 per month for the “Starter Plan” to the $5.98 per month for the “Business Plan”. Also, note that most of these prices are discounted and that discount will only apply for the first term.
Head over to this link and click on “Buy Now” for your preferred plan.
2. Choose a Domain
Choose the domain for your blog. Try to keep it short and as simple as possible. Already own the domain for your blog? Just click on that option and enter it in the text box.
3. Confirm your hosting plan
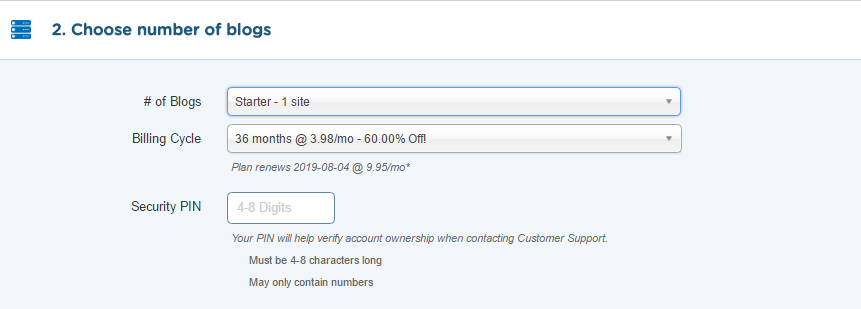
Confirm the plan and the number of blogs along with your preferred billing cycle. Also choose a security pin for your blog!
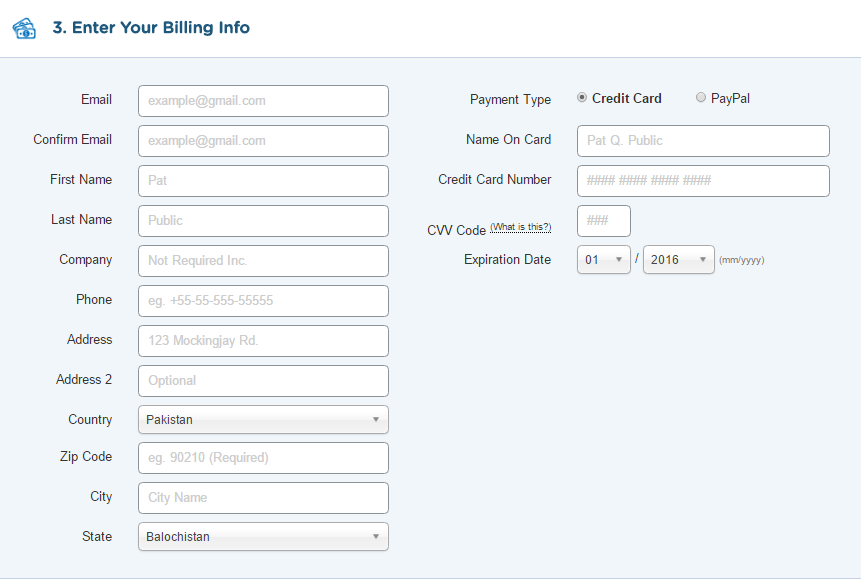
4. Enter account and billing information
Enter your account and billing information for paying your hosting fee. Alternatively, you can also pay with PayPal if you have an account there.
5. Enter our Coupon Code
Head below and you will see a section for Coupon Code. With our coupon code, ‘TECHJUICE25‘ you can get 25% off on all new hosting packages.
6. Checkout
Once you are done and filled all the required information, click on “Checkout Now!” by going to the bottom of the page.
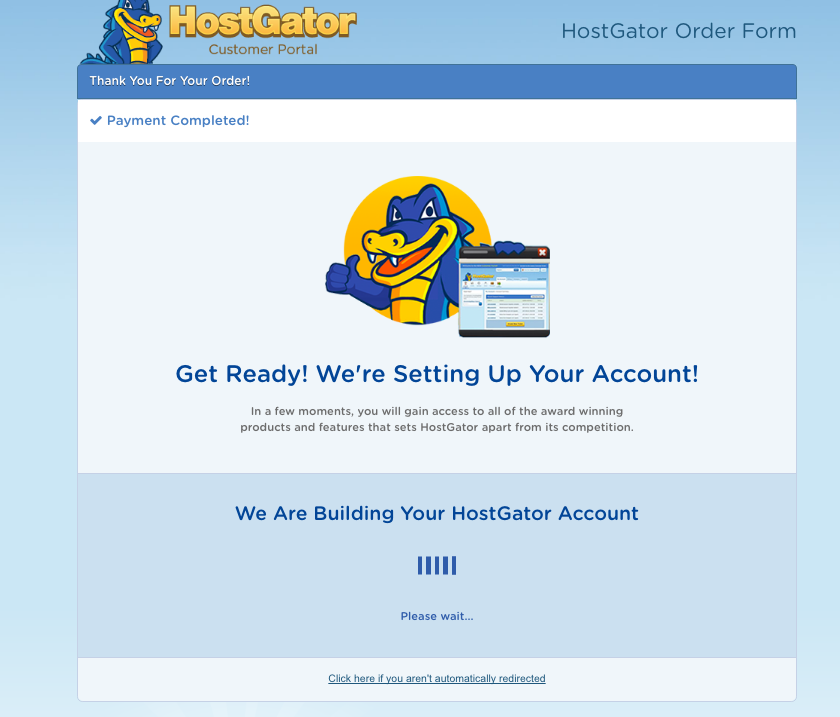
Now, you will be displayed with a processing screen as HostGator will process your request and set-up your account.
You will also receive an email with the details about your HostGator account, including your email, password and Control Panel. We have attached a screenshot of the email below after redacting some private information.

Setting up WordPress on your blog
After you are done with the web-hosting, we will now show you how to set up WordPress on your blog. Installing it is completely free!
1. Logging in to HostGator
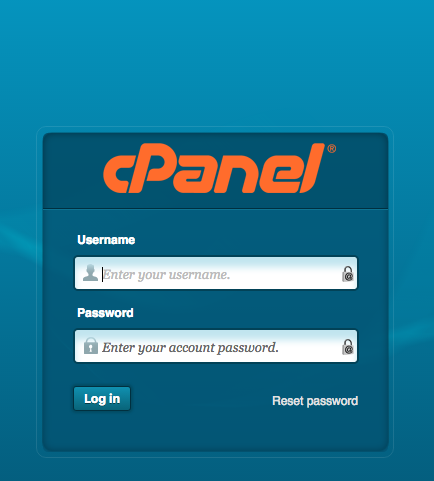
Log into your Control Panel using the information sent to you by email earlier.
2. Opening WordPress
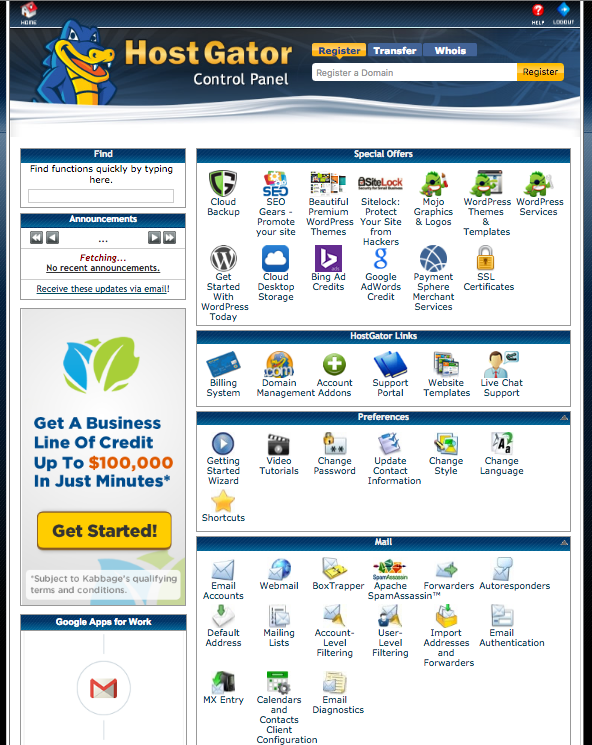
Your control panel will look something like this (image attached above). Under the section titled “Special Offers”, click on the icon captioned “Get Started With WordPress Today” with the logo of a white W with a grey background.
3. Installing WordPress
You will be shown a prompt, asking you if you want to install Wordpress. Click on the grey “Install WordPress” button to start the process.
4. Enter your credentials
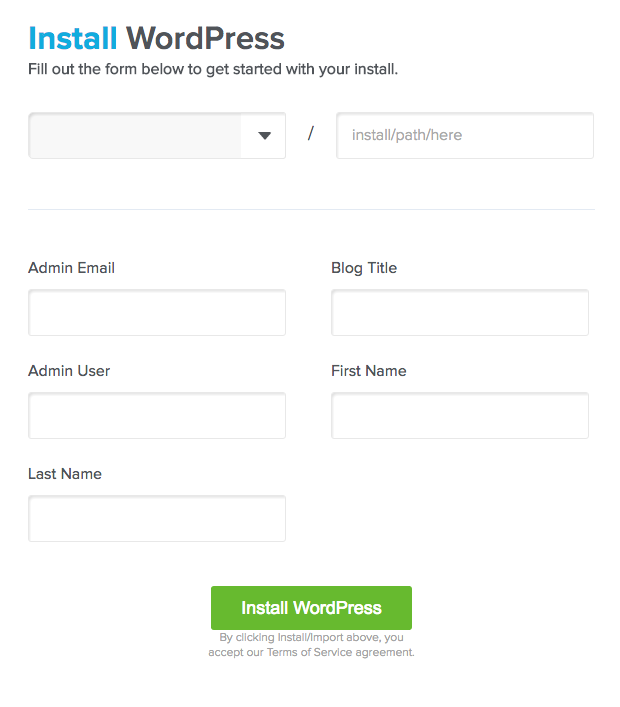
Enter your credentials and admin information and then click on the green “Install WordPress” button.
5. WordPress Installation
It will now start the installation process. Meanwhile, you can also search for a theme for your blog.
When the installation is complete, you will get a notification.

6. WordPress Credentials
You will get an email with your WordPress credentials, including the admin URL, username, password, etc.
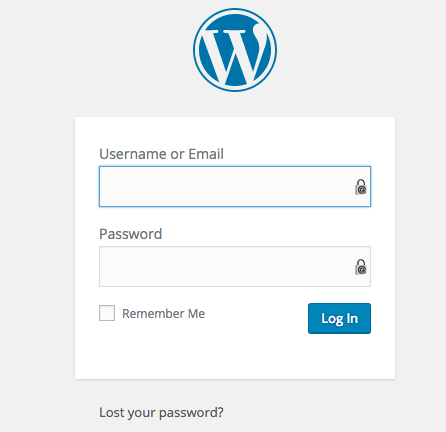
7. WordPress Login
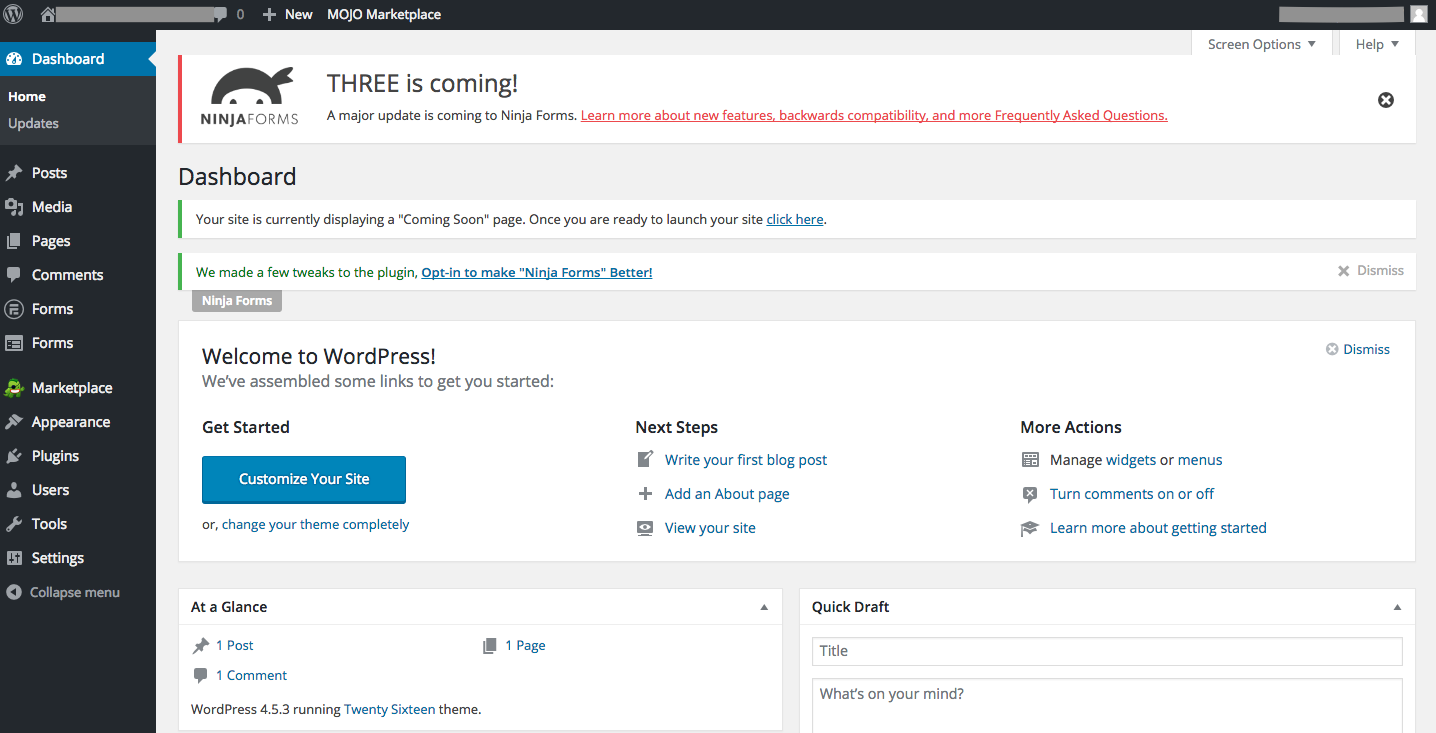
Head over the admin-URL and log-in! Your WordPress Dashboard should look something like this.
That’s it, you’re done. If you don’t want to go for HostGator, another hosting that we would recommend is Bluehost. When we were starting TechJuice, we hosted our website on both of these hostings. Once the readership increased, we moved to another hosting. About which, we will tell you some other day.
You can now browse for themes, add awesome plug-ins and, of course, start blogging!
If you have questions, leave your comment below.
I cover startups, review gadgets and talk about latest developments in the technology industry. Get in touch through rehan@techjuice.pk.
Related Posts
You Can Easily Recover Your Hacked YouTube Channel Now: Here’s How?
As this digital world grows, the allure of online fame comes with a hidden risk. We often come to the news that the YouTube…
Earn Money With Less Subscribers: YouTube Eases Monetization Requirements
As a part of its new policy, YouTube will now allow any channel having 500 subscribers and 3,000 watch hours to monetize their channel…
