How to Easily Update Your Phone Number on Google Account

Are you tired of missing important account notifications because your phone number is outdated on Google? Frustrated by the hassle of trying to update it but not knowing where to start? Whether you’ve switched carriers, get a new number, or just need to keep your account secure, updating your Google contact info is crucial. But let’s be honest, it seems daunting to go to settings and find the right steps.
In this guide, we’ll show you exactly how to update your phone number on your Google account in just a few simple steps, so you can stay connected and protected without the headache.
Keep reading!
Importance of Google Account Phone Number
Your Google account phone number is used for more than one thing. You’ll use it to log in to the tech giant’s many digital services, get two-step verification codes, and get back into your Google account by getting a text message with a password change code.
Google makes ads more relevant to you by using your phone number. You can stop this by going to the Phone settings and turning off Better ads & Google services under “Preferences.” It tries to confirm the number occasionally to make sure it’s still yours.
Steps to update your phone number on Google account
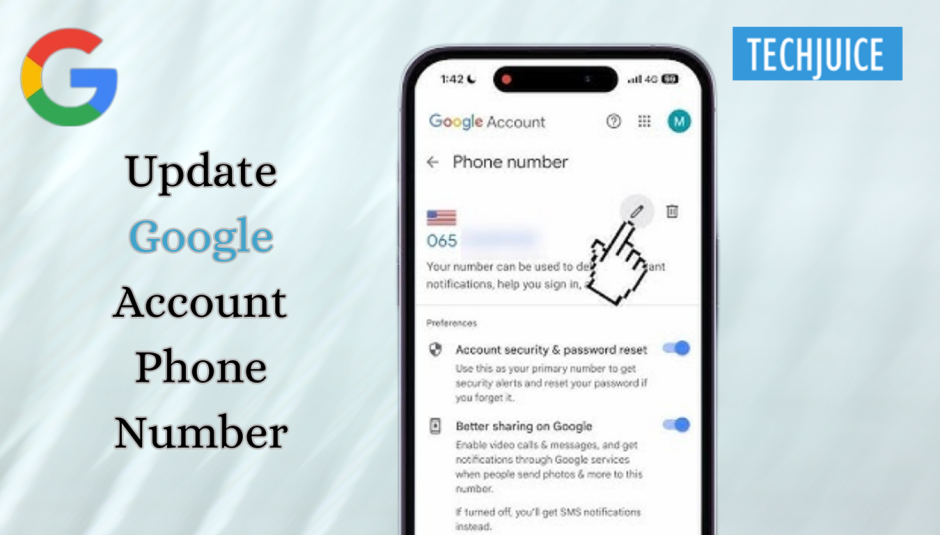
To change the phone number associated with your Google account, you can use any Android phone by following these steps:
- Launch the device’s Settings app.
- Simply go to Google and tap it.
- Click on Manage your Google Account to see the page where you can change your account settings.
- Navigate to the Personal Info tab at the top.
- Click on Phone under “Contact information.”
- Tap on your phone number.
- Click the “Edit” button next to your number. You are being asked to prove that you own the device.
- Tap the blue Continue button.
- Select the usual way to unlock your phone’s screen, like a fingerprint, face ID, or a password.
- Get your device unlocked. You’re directed to the phone number page.
- Press “Edit.”
- Click on Update number.
- Type in your new phone number.
- Tap Select. Your Google account now has a new phone number attached to it.
How to update your Google Phone Number on iPhone and iPad?
Since an iPhone isn’t linked to Google services, updating your Google account phone number on an iPhone is a little different from updating it on an Android device. You can change your phone number, though, in Google apps like Gmail and YouTube. This guide shows you how to do it using YouTube.
- On your iPhone or iPad, open a Google app like Gmail or YouTube. If you don’t have a Google app, go to myaccount.google.com.
- In the bottom right area, tap your profile picture or account name.
- Click on Google Account.
- Go to the top and click on Personal >.
- Tap Phone next to Contact information.
- Click on your phone number.
- Choose “Edit” from the menu that appears next to the number.
- Follow the steps shown on the screen. The process of updating is similar to Android.
Steps to update Google account phone number via Computer
Changing your phone number on a computer is pretty much the same as doing it on a phone. However, your device needs to be ready to go for the final check. Follow these steps to get started:
- You can get to your account at myaccount.google.com or through any other Google service you use.
- On the left menu, click the “Personal info” tab.
- Click Phone in Contact info.
- Pick out your phone number.
- On your number, click the “Edit” button. You are being asked to prove your identity.
- Type your password for your Google account and click Next.
- Click on the edit icon.
- Then, click on Change Number.
- Type in your new number, then click “Select.” Your number has been changed.
The phone number associated with your Google account must be kept updated at all times. It can help you regain your Google account if you become locked out and prevent suspicious sign-in attempts. However, imagine you have many Google accounts. That way, you’ll need to keep track of which phone number is linked to each of your Google accounts, which means you’ll need to change the default Google account on your Android phone.
Related Posts
Grok 3: xAI’s Latest AI Chatbot Takes on ChatGPT and Deepseek
Musk’s AI company, xAI, has released Grok 3, its most advanced chatbot. It is designed to compete directly with OpenAI’s ChatGPT and Google’s Gemini.…
Pakistan Introduces ‘Pak ID’ Mobile App to Facilitate Visa-on-Arrival
ISLAMABAD: In a significant move to enhance travel convenience, Pakistan has launched the ‘Pak ID’ mobile application, enabling citizens from 120 countries to apply…


